Shrimp Pond Preparation Before Stocking: Complete Guide
30/9/2026
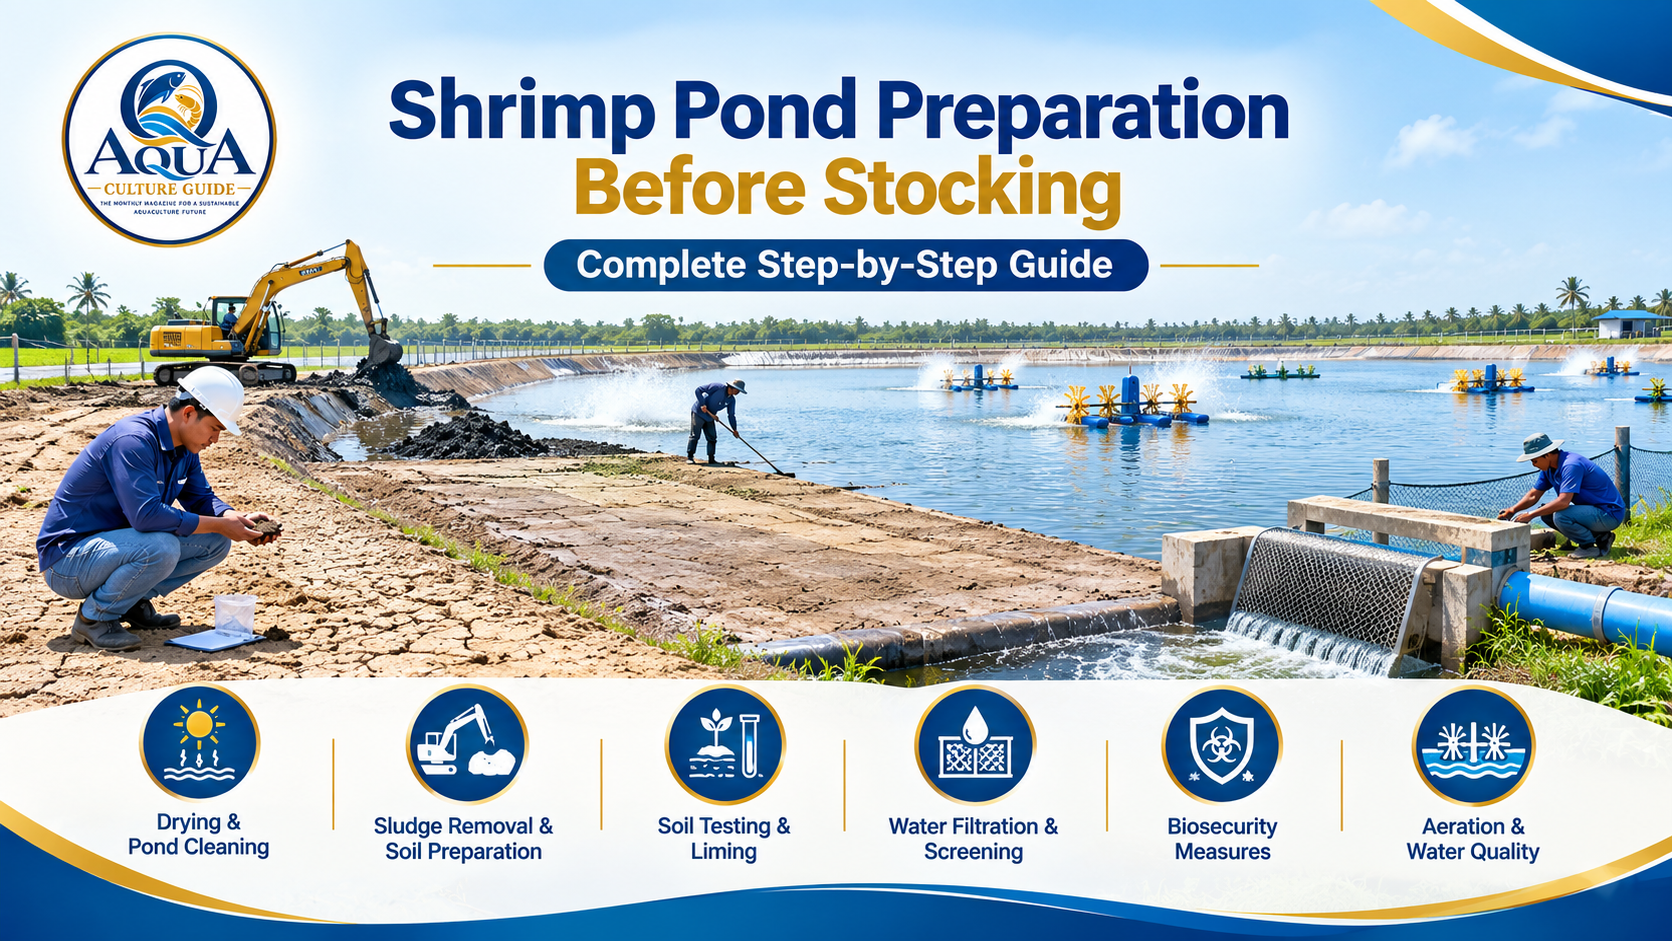
vannamei shrimp pond before stocking with this step-by-step checklist covering draining, sludge removal, drying, ploughing, liming, water screening, biosecurity and plankton preparation.
Why Is Pond Preparation Important in Vannamei Farming
The pond is the shrimp's complete environment. Unlike a tank where conditions can be controlled more easily, a shrimp pond contains soil, water, microorganisms, organic matter, plankton and other organisms that interact continuously.
The main objectives of pond preparation are to:
Remove remaining shrimp, fish and other unwanted organisms.
Remove excess organic matter from the pond bottom.
Oxidize accumulated organic waste.
Correct unsuitable soil conditions.
Reduce potential disease risks.
Prevent entry of unwanted organisms through incoming water.
Establish suitable water quality.
Develop a stable plankton community before stocking.
Plan the Next Crop Before Preparing the Pond
Your preparation plan should include:
Pond preparation date → water filling → water conditioning → seed booking → stocking date
Also estimate:
>Required PL quantity
>Stocking density
>Feed requirement
>Aeration requirement
>Power requirement
>Water requirement
>Labor requirement
>Expected harvest period
Completely Harvest the Previous Crop
After harvesting, remove as much remaining water as practical.
Complete draining helps remove:
>Unwanted fish
>Crabs
>Remaining shrimp
>Other crustaceans
>Organic waste
>Residues from the previous crop
Inspect the Pond Bottom
First inspect the pond bottom carefully.
Look for:
>Black soil
>Black sludge
>Bad smell
>Heavy organic accumulation
>Uneaten-feed areas
>Accumulation around pond corners
>Accumulation around aerator circulation zones
>Benthic algae
**Important
Do not simply cover bad black soil with lime and consider the pond prepared.**
Where possible, physically remove excessive accumulated organic matter first.
Remove Sludge and Organic Waste
Sludge commonly accumulates in:
Feeding areas
Pond corners
Central accumulation zones
Areas influenced by aerator circulation
Remove excessive sludge from the pond rather than allowing it to remain and decompose in the next crop.
Dry the Pond Bottom
Where the pond design and local conditions allow, dry the pond bottom thoroughly.
Proper drying can help:
>Oxidize organic matter
>Reduce accumulated waste
>Eliminate unwanted organisms and their eggs
>Improve soil condition
>Reduce problems carried over from the previous crop
However, drying time should be adapted to soil type, weather, pond construction and local conditions.
Plough the Pond Bottom
MPEDA recommends ploughing the pond 2–3 times, with approximately 2–3 days between ploughing operations, under its better management practices
Repair Pond Bunds and Structures
Inspect the entire pond before filling.
Check:
Pond bunds
Look for:
Rat holes
Crab holes
Erosion
Cracks
Low sections
Seepage
Inlet
Check:
Pipe condition
Valves
Filter fittings
Mesh
Connections
Outlet
Check:
Drainage channel
Screens
Gates
Emergency drainage arrangements
Electrical system
Inspect:
Aerators
Motors
Cables
Control panels
Pumps
Generators or backup power
It is much easier to repair these facilities while the pond is empty.
Test the Pond Soil
Testing should preferably include:
Soil pH
Organic matter/organic carbon
Relevant mineral parameters
Salinity/EC where appropriate
Other parameters identified by a qualified laboratory
Apply Lime Based on Soil Test Results
Do not use the same lime quantity for every pond.
Soil pH Burnt lime (CaO) kg/ha Agricultural lime (CaCO₃) kg/ha
5.0 200 400
5.5 150 300
6.0 100 200
6.5 50 100
Above 7 No lime required according to MPEDA guidance
Prepare the Reservoir
A reservoir is an important component of better pond management.
It allows incoming water to be:
>Screened
>Settled
>Conditioned
>Managed separately from grow-out ponds
MPEDA recommends using a reservoir and gives a 3:1 pond-area-to-reservoir-area ratio as a recommendation in its guidance
Install Proper Water Screening
Pre-filling checklist
☐ Inlet mesh intact
☐ Screen properly secured
☐ No gaps around pipes
☐ Reservoir ready
☐ Outlet screen installed
☐ No fish entry possible
☐ Crab control measures in place
Strengthen Farm Biosecurity
Biosecurity should be established before water enters the production pond.
Your farm biosecurity checklist
☐ Farm entrance controlled
☐ Bird control measures installed
☐ Crab control measures installed
☐ Inlet water screened
☐ Pond equipment cleaned
☐ Disinfection area prepared
☐ Separate sampling equipment available
☐ Unnecessary pond entry restricted
☐ Staff hygiene procedures established
Clean and Disinfect Equipment
Clean everything that will come into contact with the pond.
This includes:
>Nets
>Buckets
>Water-testing equipment
>Feed trays
>Pumps
>Pipes
>Sampling containers
>Boots
>Other pond implements
Check Water Quality Before Stocking
MPEDA's current farmer guidance lists these reference ranges:
Parameter MPEDA reference range
Dissolved oxygen 4–6 ppm
Temperature 28-32°C
pH 7.5–8.3
Salinity 10–25 ppt
Total alkalinity 100–200 ppm
Total ammonia 0.5 ppm
Transparence 30–40 cm
Water color Green or brown
Before stocking, check at minimum:
DO → Temperature → pH → Salinity → Alkalinity → Ammonia → Nitrite → Transparency
Prepare Aerators Before Stocking
Aerators should be fully operational before the shrimp arrive.
Check:
☐ Motor condition
☐ Paddlewheel condition
☐ Bearings
☐ Electrical connections
☐ Floaters
☐ Wiring
☐ Emergency backup
☐ Generator/fuel availability
Confirm Good-Quality Vannamei Seed
Before stocking, verify:
☐ Hatchery source
☐ Certification/testing information
☐ PL age and size
☐ Batch information
☐ Transport condition
☐ Seed activity and appearance
☐ Required health testing
Final Pond Inspection Before Stocking
This is the final checkpoint.
Walk around the entire farm and confirm:
Pond
☐ No excessive black sludge
☐ No dead animals
☐ No unwanted fish/crabs
☐ Water level suitable
☐ Water colour acceptable
☐ Plankton stable
Water quality
☐ DO checked
☐ Temperature checked
☐ pH checked
☐ Salinity checked
☐ Alkalinity checked
☐ Ammonia checked
☐ Nitrite checked where appropriate
Infrastructure
☐ Aerators operational
☐ Pumps operational
☐ Generator ready
☐ Inlet screens secure
☐ Outlet screens secure
Biosecurity
☐ Farm entrance controlled
☐ Disinfection station ready
☐ Equipment disinfected
☐ Bird/crab barriers checked
☐ Staff briefed
Seed
☐ Hatchery confirmed
☐ Seed quantity confirmed
☐ Transport planned
☐ Acclimation equipment ready
Only after this final inspection should stocking proceed.
Shrimp Pond Preparation Timeline
A practical preparation calendar can look like this:
Day 1–3
Complete harvest and drainage.
Day 2–7
Remove sludge, dead organisms and organic waste. Repair bunds, inlets and outlets.
Day 5–30
Dry and plough the pond according to soil, weather and farm conditions. MPEDA's BMP guidance describes approximately 20–30 days of sun drying under suitable conditions.
After drying
Test soil and apply appropriate lime based on the soil condition.
Before water filling
Complete biosecurity, water-screening and equipment preparation.
Water-filling stage
Fill with screened water and establish suitable pond conditions.
Pre-stocking period
Monitor water quality and stabilize the plankton bloom.
Stocking day
Confirm water quality, prepare seed acclimation and stock healthy certified PL according to the approved farm plan.
Common Mistakes Farmers Should Avoid
- Stocking immediately after filling
A full pond is not necessarily a ready pond. Water quality and plankton stability should be checked first.
- Ignoring black sludge
Covering organic waste without addressing the underlying problem can leave the pond bottom in poor condition.
- Applying lime without testing
Lime requirements vary with soil condition. Test first.
- Poor water screening
Unfiltered source water can introduce unwanted organisms and potential disease vectors.
- Neglecting aerators
A broken aerator on stocking day is much easier to prevent than an oxygen emergency later.
- Weak biosecurity
A clean pond can still be exposed to risks through people, equipment, birds, crabs or incoming water.
- Over-fertilizing
Excessive plankton can create nighttime oxygen problems. MPEDA specifically warns against heavily fertilizing to produce dark-green water.
- Using unapproved chemicals
Avoid using pesticides or other products outside approved and technically justified applications. Follow CAA and applicable regulatory requirements.
- Buying seed only because it is cheaper
Seed health and source verification are critical.
- No written checklist
A written pre-stocking checklist prevents small tasks from being forgotten.
Printable Vannamei Pond Preparation Checklist
Pond Bottom
☐ Harvest completed
☐ Pond drained
☐ Dead organisms removed
☐ Sludge removed
☐ Black soil removed/managed
☐ Pond dried
☐ Pond ploughed
☐ Pond bottom prepared
Soil
☐ Soil pH tested
☐ Soil condition evaluated
☐ Lime requirement calculated
☐ Lime applied where required
Water System
☐ Reservoir prepared
☐ Inlet checked
☐ Inlet screening installed
☐ Outlet checked
☐ Water source evaluated
☐ Pump tested
Biosecurity
☐ Farm entrance controlled
☐ Crab barriers checked
☐ Bird-control measures ready
☐ Equipment disinfected
☐ Separate sampling equipment available
☐ Worker hygiene system ready
Water Preparation
☐ Pond filled with screened water
☐ DO checked
☐ pH checked
☐ Temperature checked
☐ Salinity checked
☐ Alkalinity checked
☐ Ammonia checked
☐ Nitrite checked
☐ Transparency checked
☐ Plankton bloom established
Equipment
☐ Aerators serviced
☐ Pumps serviced
☐ Generator ready
☐ Electrical system checked
☐ Nets and buckets ready
☐ Feed storage ready
Seed
☐ Authorized hatchery confirmed
☐ Seed certification/testing verified
☐ PL quantity confirmed
☐ Transportation arranged
☐ Acclimation equipment ready
Final Approval
☐ Pond inspected
☐ Water quality acceptable
☐ Plankton stable
☐ Biosecurity complete
☐ Aeration ready
☐ Seed ready
☐ Stocking plan confirmed
Conclusion
Good vannamei shrimp farming starts before stocking.
A properly prepared pond gives the farmer a stronger foundation for managing water quality, feed, shrimp health and biomass throughout the crop.
The key sequence is:
Harvest → Drain → Remove sludge → Dry → Plough → Test soil → Lime where required → Repair pond → Prepare reservoir → Screen water → Strengthen biosecurity → Fill pond → Stabilize water and plankton → Check equipment → Verify seed → Acclimatize → Stock.
Questions & Answers
Q1.How long should a shrimp pond be dried before stocking?
MPEDA's BMP guidance, a pond may be dried in the hot sun for around 20–30 days until the soil cracks, where conditions permit. Actual drying time depends on soil, weather and pond conditions
Q2.Why is pond-bottom sludge removed before stocking?
Excess organic matter can deteriorate pond-bottom conditions and contribute to undesirable metabolites such as ammonia and hydrogen sulfide. Removing accumulated sludge helps create a cleaner environment for the next crop
Q3.What pH should shrimp pond water have before stocking?
MPEDA's farmer guidance provides 7.5–8.3 as a reference range for shrimp pond water.
Q4.What dissolved oxygen level is recommended?
MPEDA provides 4–6 ppm as an ideal reference range and emphasizes early-morning monitoring
Q5.Is water screening necessary?
Yes. MPEDA describes water screening as an important measure for keeping disease carriers away from the pond and recommends fine-mesh filtration at water inlets
Q6.What is the most important part of pond preparation
here is no single step that guarantees a successful crop. Clean pond bottom, appropriate soil management, screened water, biosecurity, stable water quality, functioning aeration and healthy seed need to work together.
Related articles
భారతీయ రిజర్వాయర్లలో కేజ్ ఫిష్ ఫార్మింగ్: సాంకేతికత, అనుమతులు మరియు పెట్టుబడి వివరాలు
భారతదేశంలోని రిజర్వాయర్లలో కేజ్ ఫిష్ ఫార్మింగ్ ఎలా ప్రారంభించాలి? అవసరమైన సాంకేతికత, ప్రభుత్వ అనుమతులు, పెట్టుబడి, చేపల జాతులు, మేత నిర్వహణ మరియు లాభనష్టాల గురించి పూర్తి వివరాలు తెలుసుకోండి.
Freshwater Prawn Farming in IndiaFreshwater Prawn Farming in India: రైతులకు పూర్తి సాగు మార్గదర్శిని
భారతదేశంలో మంచినీటి రొయ్యల సాగు ఎలా ప్రారంభించాలి? జెయింట్ ఫ్రెష్వాటర్ ప్రాన్ సీడ్ ఎంపిక, చెరువు తయారీ, స్టాకింగ్, ఆహారం, నీటి నాణ్యత, పెట్టుబడి, మార్కెటింగ్ గురించి పూర్తి వివరాలు తెలుసుకోండి.
Tilapia farming in Indiaభారతదేశంలో తిలాపియా చేపల పెంపకం – మార్కెట్ అవకాశాలు, ప్రభుత్వ నిబంధనలు మరియు ఆధునిక సాగు పద్ధతులు
భారతదేశంలో తిలాపియా చేపల పెంపకం ఎలా చేయాలి? మార్కెట్ అవకాశాలు, ప్రభుత్వ అనుమతులు, చెరువు సాగు, బయోఫ్లాక్, RAS విధానాలు, పిల్లల ఎంపిక, మేత నిర్వహణ మరియు దిగుబడి గురించి పూర్తి సమాచారం.
PCR Testing in Shrimp Hatcheriesరొయ్యల హ్యాచరీల్లో PCR పరీక్షలు: ఫలితాలను రైతులు ఎలా అర్థం చేసుకోవాలి?
WSSV, EHP, AHPND వంటి వ్యాధికారకాలను గుర్తించడంలో PCR పరీక్షల పాత్ర, పరీక్షా నివేదికలను అర్థం చేసుకోవడం, నాణ్యమైన రొయ్య పిల్లలను ఎంపిక చేసుకోవడం గురించి రైతులు తెలుసుకోవాల్సిన పూర్తి సమాచారం.
Explore Aqua Culture Guide
Aqua companies directory
Feed, seed, probiotics & equipment suppliers
Aquaculture calculators
Feed, FCR, stocking & water quality tools
Telugu aqua magazine
Read the latest monthly issue online
All aqua news & articles
Farming, disease control and market updates
List your company free
Get found by farmers across India
Advertise with us
Magazine and website advertising options